Configure an Advanced QR Campaign
Use Advanced QR setup when the campaign needs more control than the guided shopping QR creator provides. You can configure the destination, campaign identity, first physical placement, tags, UTMs, social preview, schedule, password, and lifecycle fallbacks in one editor. The QR placement and its artwork remain the primary object throughout the workflow.
Start the Campaign
- Open QR campaigns in FlashWombat.
- Select Advanced QR setup.
- Choose a product, collection, or cart starter, or begin with a supported configuration from scratch.
- Under Your first QR placement, enter a Placement name that identifies the first physical use and choose its Placement category.
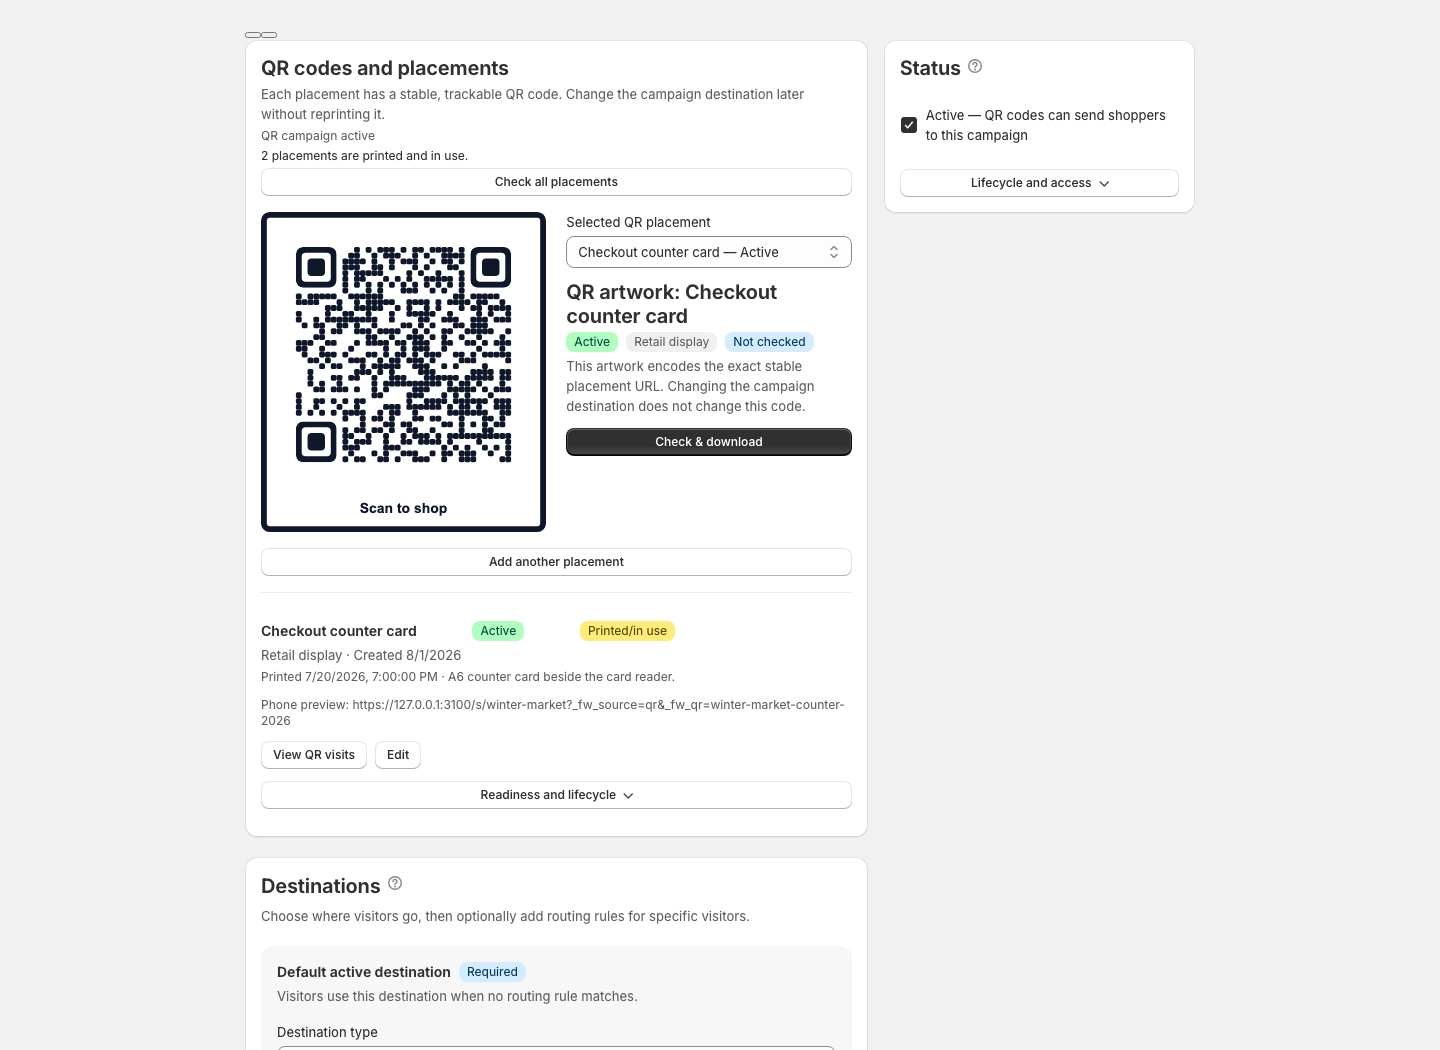
The page title is Create QR code. Saving creates the parent QR campaign and the named placement atomically, then opens that placement's QR workspace. A new campaign is not left without a QR code.
The QR preview on the create page is intentionally not scannable. FlashWombat creates the stable placement URL and real artwork only after the campaign saves.
Set the Campaign Identity
Under Campaign identity and link:
- Enter an internal Name that describes the campaign.
- Select Campaign link settings to review or change the short code.
- Review the supporting link preview and select a connected branded domain when the current plan supports it.
The supporting link is not the primary product object. It is the stable routing layer behind the QR campaign and can also serve as a typed or clickable fallback.
Choose the Shopper Destination
Select the destination that matches the promise printed beside the QR code:
- A product when shoppers need details or variant choices.
- A collection when they should browse a range.
- A ready cart for exact variants and quantities.
- A raw URL or smart destination when your plan supports it.
For ready carts, confirm every variant and quantity. FlashWombat can carry an existing Shopify discount code into the journey, but Shopify controls whether the code exists, applies, and is available to a shopper.
Add Marketing and Sharing Context
Use Tags to help staff find related campaigns. Add UTM parameters when downstream analytics tools need consistent labels.
A custom social preview applies when the supporting campaign link is shared in a channel that reads Open Graph metadata. Platforms can cache previews and crop images differently, so test the final shared link.
UTMs and preview metadata describe the campaign; they do not identify a shopper or prove that a campaign caused an order.
Configure Lifecycle Controls
Under Status, keep Active — QR codes can send shoppers to this campaign visible as the primary control. Select Lifecycle and access when you need to:
- Add start and end dates for a scheduled campaign.
- Configure useful before-start, manually inactive, and after-expiry destinations for printed material that may circulate outside the main campaign window.
- Use a customer password only as a lightweight access gate.
A customer password is not a replacement for Shopify customer accounts, checkout authentication, or controls for sensitive information.
Save, Design, and Test
- Save with Shopify's save bar.
- Confirm that the editor opens the saved placement under QR codes and placements and shows its real QR artwork.
- Confirm the selected placement name, category, and readiness badge.
- Select Check & download.
- Run configuration health and print preflight.
- Download PNG or SVG artwork only after reviewing the current findings.
- Print and scan one production-size proof before approving the full run.
The editor also shows the supporting campaign link for direct sharing. Use it as a secondary campaign surface while keeping the QR campaign and its physical placements as the main unit of work.